The Ultimate Chain and Sprocket Wear Inspection Checklist
Many conveyor failures start as unnoticed mechanical wear. We know how frustrating it is when a production line stops at 3:00 AM. Unexpected downtime ruins your output schedule and inflates your emergency repair costs. Measuring exact wear often feels like a difficult guessing game without the right technical data.
We're sharing our professional chain and sprocket wear inspection checklist to help you save your budget. You'll learn how to identify 3 specific signs of elongation and tooth profile decay before they cause a crash. Our team at Jealco wants to help you make confident, data-driven decisions about your industrial machinery.
This guide provides a direct "go/no-go" framework to ensure your facility stays operational and safe. We'll show you how to extend equipment life through better monitoring. Let's dive into the technical steps to keep your plant running at peak efficiency.
Key Takeaways
- Learn to apply the "3% Rule" to measure chain elongation accurately. You will know exactly when pins and bushings have reached their functional limit.
- Identify "shark fin" wear patterns on your sprocket teeth. Spotting these visual cues early prevents sudden and expensive conveyor failures.
- Use our professional chain and sprocket wear inspection checklist to audit your equipment. This 10-point guide helps you focus on high-impact areas that signal immediate risk.
- Discover why you should always replace chains and sprockets together. We show you how a worn sprocket can destroy a new chain in just weeks.
- Protect your production schedule by preventing unplanned downtime. Gain the technical confidence to make smart replacement decisions that boost your ROI.
Why We Can Not Ignore Chain and Sprocket Wear
We see wear as a silent profit killer. It's a natural process. Metal rubs against metal. Over time, components degrade. We can't stop it entirely. However, we can manage it. If we don't, the costs are staggering. A single snapped chain on a high-speed line can halt production for hours. In a busy plant, lost product alone adds up quickly. We also lose labor time. We waste energy. Unplanned downtime costs far more than scheduled maintenance.
Most failures don't happen suddenly. They give us warnings. We look for signs like elongated links or hooked teeth. Ignoring these signs is a choice. It's a choice to risk your equipment. We recommend using a chain and sprocket wear inspection checklist to catch these issues early. This move shifts your team from reactive panic to preventative control. It keeps your facility running smoothly. It protects your bottom line.
Friction is our constant enemy. When lubrication fails, heat rises. Metal expands. Environmental debris then enters the mix. This creates an abrasive paste. It eats away at your hardware. Sprockets can lose tooth material quickly in poor conditions. Consistent monitoring is the only way to stay ahead of this decay.
The Anatomy of Industrial Wear
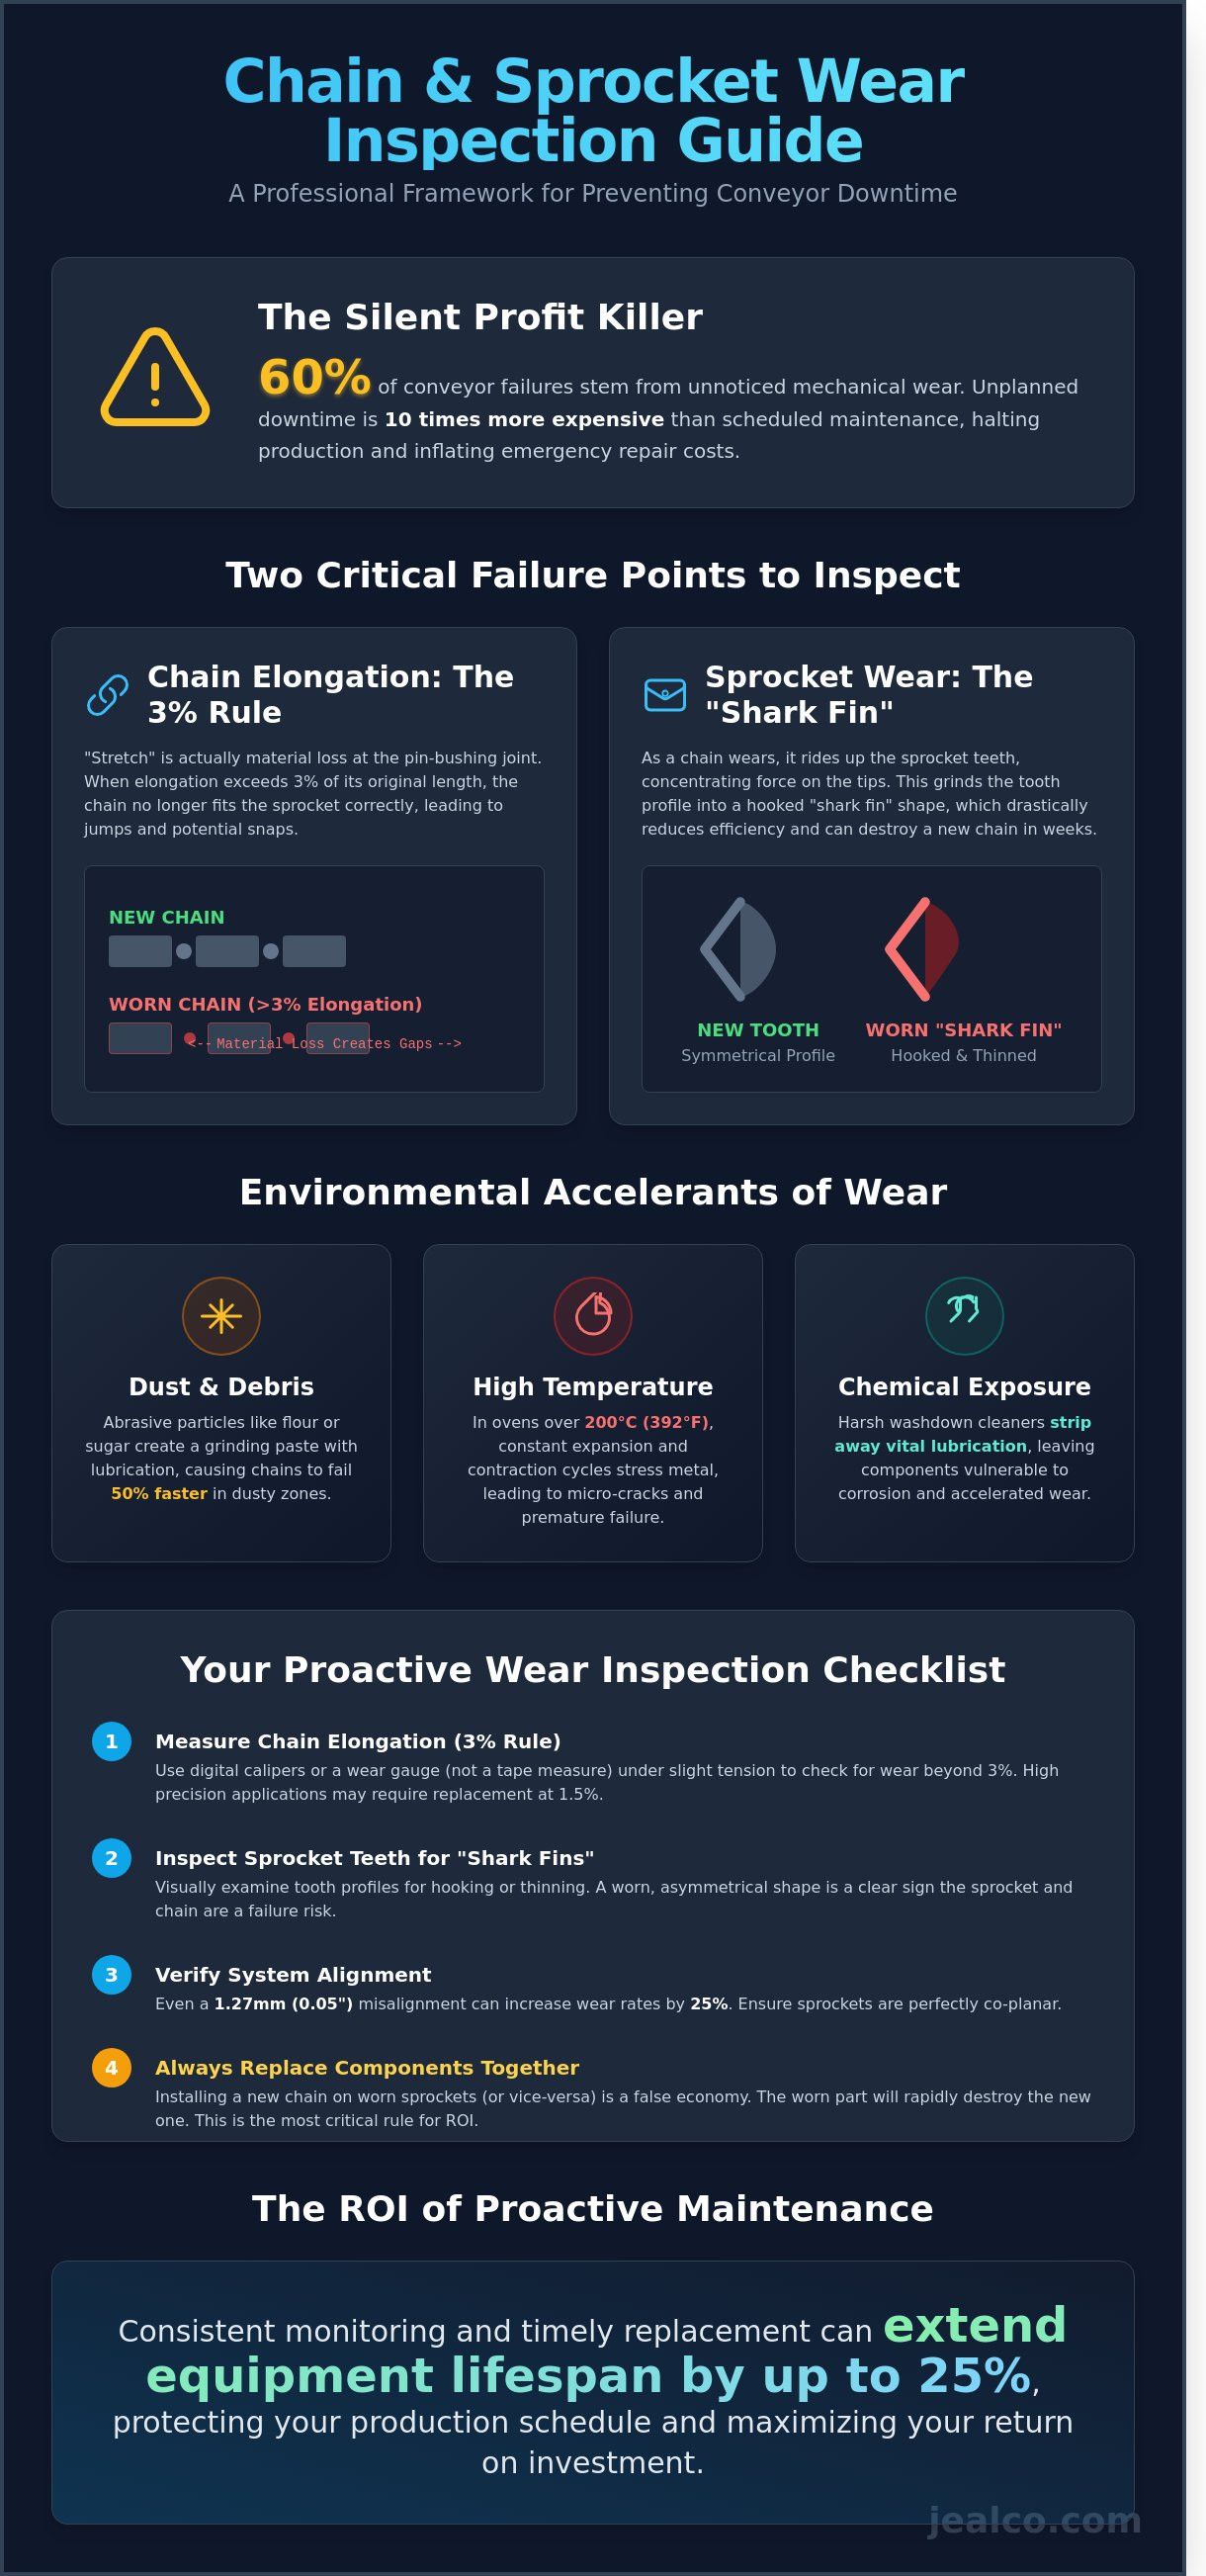
We must understand how a roller chain actually functions. It's a series of journal bearings. Pins, rollers, and bushings work together to handle heavy loads. As the chain moves, these parts rub. This internal friction causes "stretch," which is actually material loss at the pin-bushing joint. We measure this carefully. A 3% elongation often means the chain is dead.
Sprockets are equally critical. They transfer torque from the motor to the line. Stress concentrates on the root of the teeth. If the chain is worn, it won't sit right. It rides up on the teeth. This causes "hooking." This often happens when components aren't perfectly aligned with the drive. Even small misalignment increases wear rates. We check every component to ensure a perfect fit.
Environmental Factors in Your Facility
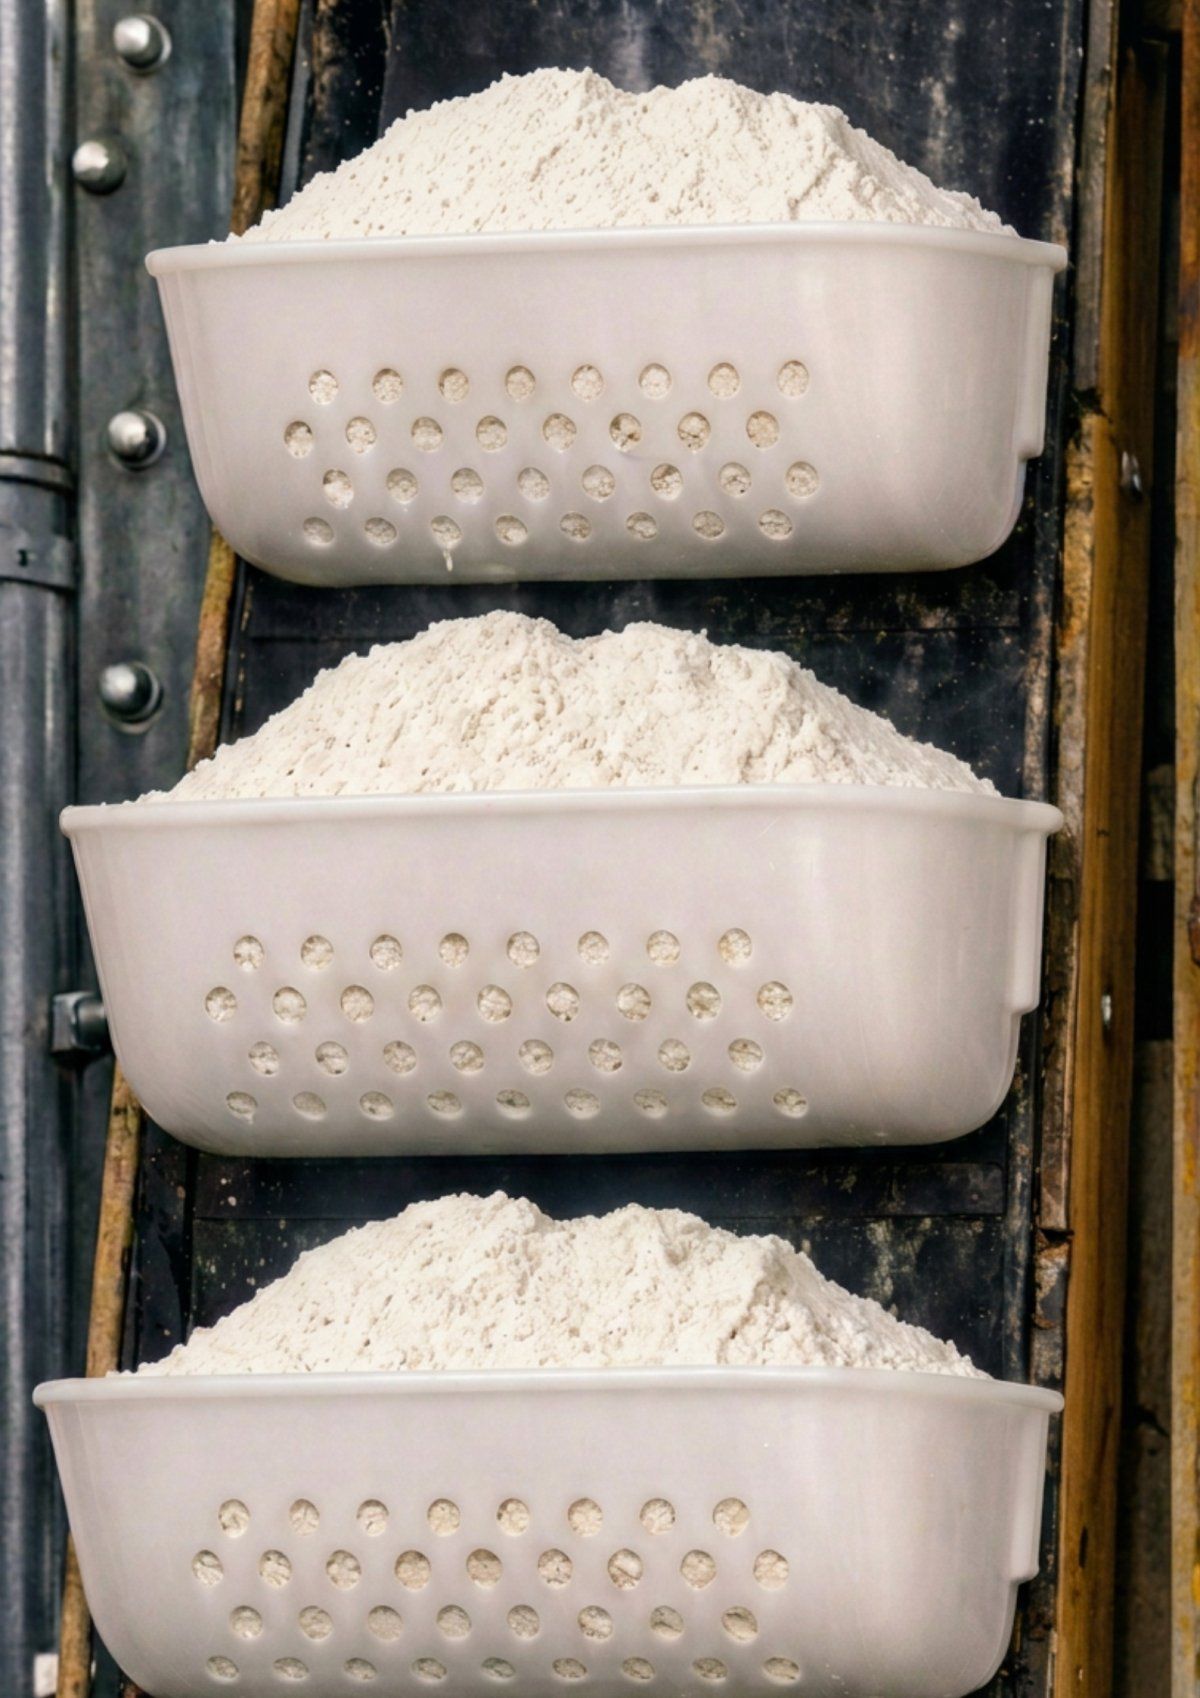
Your facility's environment dictates your maintenance schedule. Dust is like sandpaper. In food production, flour or sugar particles (ranging from 10 to 100 microns) settle on oily chains. This creates a grinding compound. It accelerates tooth thinning rapidly. Chains wear out much faster in dusty zones than in clean areas. You must inspect these areas weekly.
Temperature also plays a massive role. In industrial ovens, temperatures hit 200°C (392°F) or higher. Metal expands at these levels. This changes the tolerances between the pins and bushings. When the machine cools, it contracts. This cycle stresses the metal. It can lead to microscopic cracks. Chemical exposure from washdowns is another factor. Harsh cleaners strip away lubrication. They invite corrosion. If you use caustic chemicals, your chain and sprocket wear inspection checklist should be your daily companion. We don't guess with our equipment. We measure, we track, and we stay productive.
Ready to secure your production line? Don't wait for a breakdown to take action. Contact our technical team today to discuss a custom maintenance plan for your facility.
Measuring Chain Elongation: The 3 Percent Rule
Many operators think chains stretch like rubber bands. They don't. Metal doesn't expand under normal tension. Instead, the internal pins and bushings wear down over time. This technical analysis of chain joint wear explains the science. Friction creates tiny gaps in the joints. These gaps add up across the whole length. A wear of only 0.01 inches (0.25 mm) per joint causes huge issues. This is common in high-heat environments where lubrication breaks down.
We follow the 3% Rule for industrial machinery. If the chain is 3% longer than its original length, replace it. At this point, the chain won't fit the sprocket teeth. It starts to "ride up" on the teeth. This causes jumping and erratic movement. It can even snap during high-load cycles. Some high-precision drives need replacement sooner; follow the equipment manufacturer's limit. This protects expensive drive parts from premature failure. Running worn chains too long is a major cause of sprocket damage.
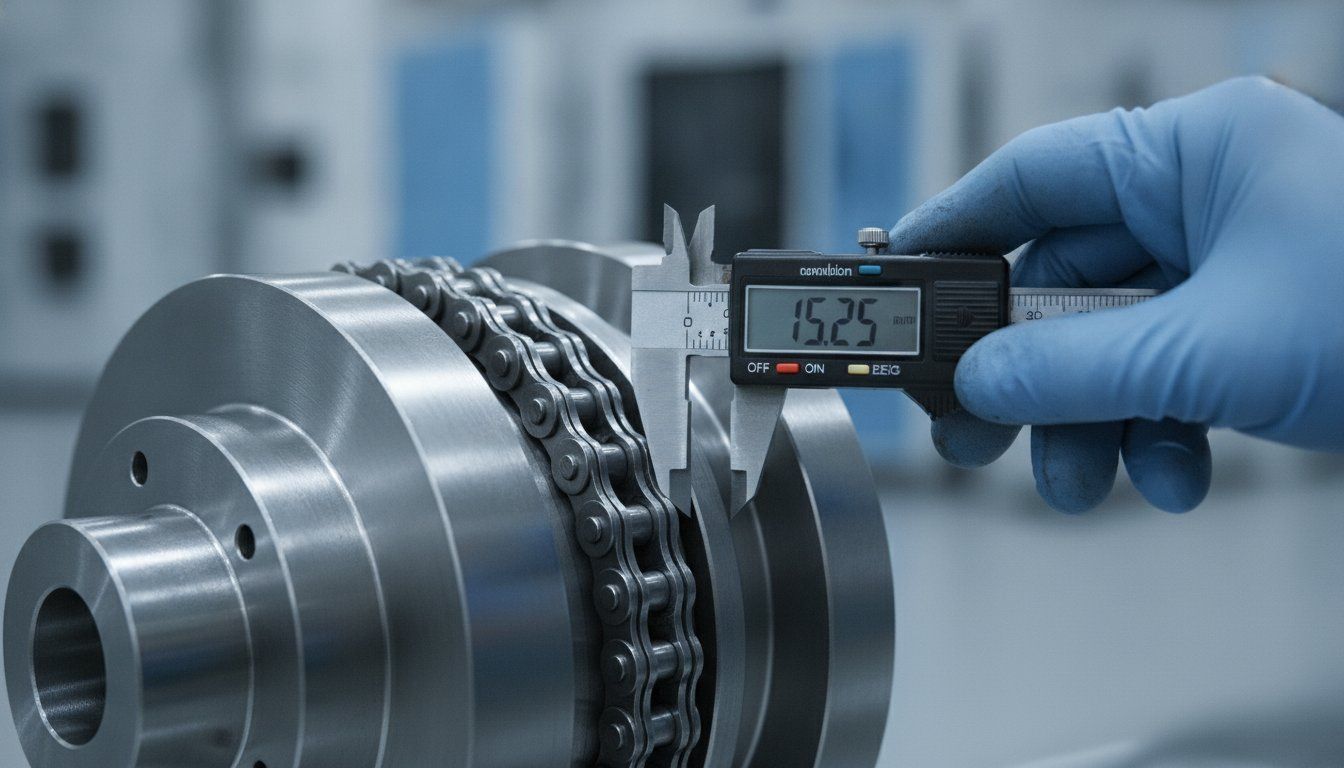
You need accurate tools for your chain and sprocket wear inspection checklist . Use digital calipers or a dedicated wear gauge. Avoid using a soft tape measure. Always measure the chain while it's under slight tension. Measure under a light load, as the chain manufacturer specifies. This pulls the slack from the joints. It gives you an honest reading. Clean the chain before you start. Flour dust or grease buildup ruins your data by 0.02 inches (0.5 mm).
How to Measure Your Chain Step-by-Step
First, select a section away from the drive sprocket. We usually count 24 links for better accuracy. Second, measure the distance from the center of the first pin to the center of the 25th pin. For a standard #60 chain, 24 links should measure exactly 18.0 inches (457.2 mm). If your measurement hits 18.54 inches (470.9 mm), you've reached the 3% limit. Replace it immediately to avoid catastrophic failure. We suggest measuring three different sections. Wear is never perfectly even. Use the highest reading for your final report.
Signs of Side Plate and Roller Damage
We look for more than just length. Cracked rollers are a major red flag. They often point to high shock loads during the baking process. Check for "galling" on the side plates too. These are deep scratches or shiny wear marks. They happen when the chain is misaligned. Watch for "frozen links" that won't pivot smoothly. These links make the motor work harder. They also create vibrations that damage bearings. If you notice these issues, our technical assistance team can help audit your drive system.
Physical damage is just as critical as elongation. A chain with little elongation but cracked rollers is still dangerous. It will fail long before it reaches the 3% limit. Make visual checks a weekly habit. It takes ten minutes but saves hours of downtime. Document every finding in your chain and sprocket wear inspection checklist . This data helps you predict when to order new parts. Tracking these metrics early lowers annual maintenance costs.
Sprocket Inspection: Identifying the "Shark Fin"
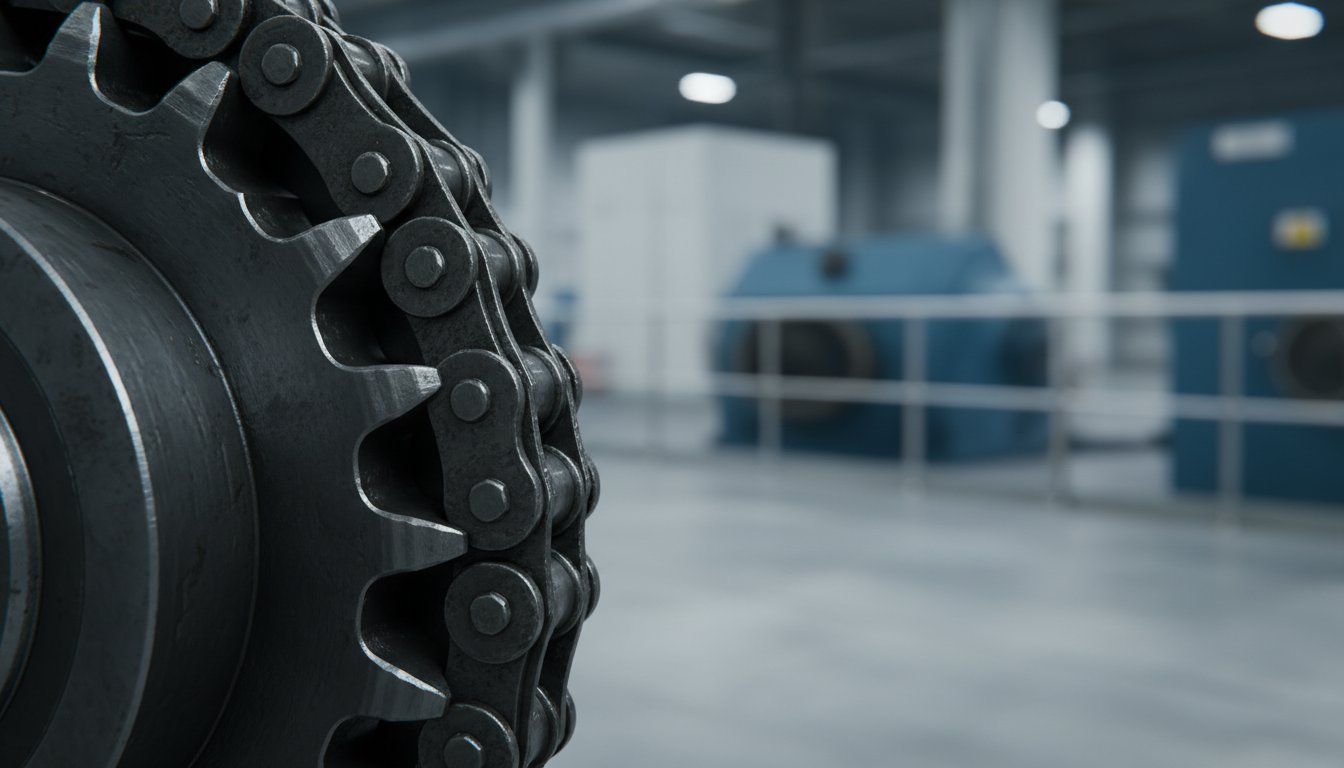
I always start my inspections by looking at the sprocket teeth. It's the fastest way to spot serious trouble. Healthy teeth have a symmetrical, rounded shape. When they wear down, they change. They begin to look like a row of waves. We call this the "shark fin" profile. This visual cue is a vital part of your chain and sprocket wear inspection checklist . If you see this shape, your efficiency is dropping fast.
Two types of tooth deformation are common. The first is "hooking." This happens when the chain pulls against one side of the tooth. It creates a deep, curved pocket on the leading edge. If the teeth show a visible hook, replace the sprocket. The second issue is "thinning." Here, the top of the tooth becomes sharp or jagged. It looks like a knife edge. Thinning usually happens in abrasive environments. Flour dust or high heat can accelerate this. For reliable performance, we recommend using Jealco sprockets and chains for all your high-demand replacements.
- Inspect the drive sprocket first.
- Look for uneven wear on one side.
- Check for sharp, needle-like tips.
- Compare the profile to a new sprocket.
Checking for Proper Alignment
Alignment is a silent killer of industrial machinery. I use a 1-meter (39-inch) straight edge for this task. Place the edge across the faces of both sprockets. They must sit on the exact same plane. We look for two main errors here. "Axial" misalignment means the shafts are parallel but shifted. "Angular" misalignment means the shafts aren't parallel at all. Even a 0.5-degree error causes massive friction. You'll see wear on the inside of the chain plates. We also watch for "wobble" during operation. A wobbly sprocket can destroy a new chain quickly. Keep your offset within 1.5mm (1/16 inch) to prevent early failure.
Tooth Bottoming and Clearance Issues
Next, look deep into the tooth gaps. These are called the "roots." Do you see a shiny, polished spot at the bottom? That's a bad sign. It means your chain rollers are hitting the root. This happens when the chain pitch has increased too much. We call this over-elongation. If your chain pitch grows by 3%, it won't seat correctly. It rides higher on the teeth. This creates extra stress and noise. You should also check for chipped teeth. We find these when debris enters the drive. Severe over-tensioning can make the metal snap. Use your chain and sprocket wear inspection checklist to verify these clearances weekly. Regular checks prevent the sudden snaps that stop production lines.
Clean tooth roots extend sprocket life. Don't ignore the buildup of grease and carbon. It forces the chain out of its natural path. A clean system is a reliable system.
Your 10-Point Wear Inspection Checklist
We designed this tool for fast use on your factory floor. It targets high-impact areas that signal immediate failure risks. We know that a single broken chain can stop your bakery for hours. This costs thousands in lost dough and labor. We built this chain and sprocket wear inspection checklist to stop those losses. Use it during every scheduled shutdown to protect your production line.
This guide helps you identify issues before they become emergencies. We recommend keeping a copy near every major conveyor or oven drive. Our team uses these same steps to ensure equipment longevity. By following this process, you build a culture of reliability in your facility.
The Pre-Inspection Safety Check
Safety is our first priority. You must confirm the power is fully disconnected. Always follow your facility's Lock-Out Tag-Out (LOTO) protocols. We never skip this step, and neither should you. Clear all debris from the drive area. This ensures a clean visual check. Grab your measuring tape, calipers, and a 500-lumen flashlight. Having the right tools ready saves time and improves accuracy.
The Core 10-Point Checklist
Use this chain and sprocket wear inspection checklist to evaluate your equipment. Each point focuses on a specific mechanical vulnerability.
- 1. Measure elongation. Check the length over 12 links. A 3% increase means the chain is done. For a 1-inch (25.4 mm) pitch chain, 12 links should measure 12 inches (304.8 mm). If it exceeds 12.36 inches (313.9 mm), replace it immediately.
- 2. Inspect rollers. Look for cracks or flat spots. These are common in high-heat zones. Damaged rollers cause uneven loading and vibration that wears down your motor.
- 3. Check side plates. Look for wear marks or heat discoloration. Blue or purple tints suggest a lack of lubrication. These colors mean the metal reached dangerous temperatures.
- 4. Verify sprocket teeth. Look for "hooked" or "shark-finned" profiles. If the teeth are sharp, they will destroy a new chain quickly. Replace sprockets and chains as a set for the best results.
- 5. Check lateral movement. Try to move the chain side-to-side. Excessive play indicates internal pin and bushing wear. This usually leads to the chain jumping off the sprocket.
- 6. Inspect lubrication. Is the chain wet, tacky, or bone dry? Dry chains fail much faster than properly lubricated ones. Look for "red dust" or fretting corrosion at the pin joints.
- 7. Listen for noises. Conduct a slow-speed test. Listen for "popping" or "grinding" sounds. These often signal poor sprocket engagement or a misaligned drive.
- 8. Check tension. Measure the mid-span sag. It should fall within the 2% to 4% range of the center distance. Too much sag leads to whipping; too little breaks bearings.
- 9. Inspect shaft bearings. Look for grease leaks or excessive play. Worn bearings ruin your alignment. Some chain failures actually start with a bad bearing.
- 10. Verify hardware. Ensure all set screws and keys are tight. Loose sprockets cause shaft damage and total system failure. A quick wrench check prevents a massive headache later.
We recommend recording these measurements in a logbook. This helps you track wear trends over 6 to 12 months. Consistent data allows you to predict exactly when you need new parts. You won't have to guess about your maintenance budget anymore.
Need expert eyes on your equipment? Contact our technical service team for a professional assessment.
When to Replace: The ROI of New Components
We always recommend replacing your chain and sprockets as a matched set. It's a technical necessity for system longevity. A worn sprocket develops a "hooked" profile on its teeth. This profile won't match the pitch of a brand-new chain. This mismatch creates friction and heat immediately. A degraded sprocket can destroy a new chain quickly. You'll find yourself performing your chain and sprocket wear inspection checklist again much sooner than expected. It's a false economy to save a few dollars now only to face a total failure next month.
Calculating the Cost of "Waiting Too Long"
The math behind proactive replacement is clear. A quality industrial sprocket costs far less than the downtime it prevents. Compare this to the cost of an unscheduled shutdown. A stoppage of a few hours costs lost labor and wasted product. Worn drives also create parasitic loads. These loads put unnecessary stress on your electric motors. Vibration from bad drives shortens motor bearing life. We suggest keeping "critical spares" on-site for any line that runs more than two shifts daily.
- Elongation approaching the limit: plan the replacement now. Inspect sprockets for "shark fin" wear.
- Elongation exceeds 3%: Replace both components immediately. The system is no longer safe to operate.
- Hooked sprocket teeth: Replace the sprocket. Never install a new chain on a worn sprocket.
- Metal shavings present: Perform a full system teardown. Check alignment and lubrication delivery.
Getting the Most Out of Your New Drive
Proper installation dictates the lifespan of your investment. We advise applying a high-grade lubricant during the initial "run-in" period. This first application penetrates the pin-and-bushing joints before dirt accumulates. You must also set the tension correctly. Aim for a slack side movement equal to 3% of the distance between shaft centers. For example, if your drive spans 60 inches (1.52 meters), your slack should be roughly 1.8 inches (45 mm). If you see more than 1/2 inch (12.7 mm) of lateral movement, your alignment is likely off. We invite you to contact us for a full system audit if your components wear out prematurely.
Don't wait for a catastrophic failure to act. You can find high-durability replacement parts at the Jealco Store. We offer fast shipping to minimize your downtime. Using our chain and sprocket wear inspection checklist ensures your facility stays productive and safe. Our team is ready to help you maintain peak operational efficiency through every shift. We provide the technical expertise you need to keep your bakery or food processing line moving without interruption.
Maximize Your Equipment Lifespan Today
Regular maintenance prevents expensive system failures. We recommend monitoring for the 3 percent elongation limit . Watch for shark fin wear on sprocket teeth. Measure your chain pitch in inches (in) and millimeters (mm) to check for stretch. These simple checks save your facility thousands in emergency repairs.
Our chain and sprocket wear inspection checklist helps you identify issues early. Jealco has been family-owned since 1950. We provide expert technical support for all industrial systems. We ship components worldwide. You'll get the parts you need fast.
Don't wait for a total breakdown. New components offer a high ROI by extending machine life. We're ready to help you optimize your bakery or industrial plant. Reliability is the foundation of your success. We're committed to your long-term operational goals. Let's keep your machinery running at peak performance.
We look forward to supporting your next maintenance cycle.
Frequently Asked Questions
How often should I perform a chain and sprocket inspection?
A quick daily visual check is a good habit. Complete a full inspection at the interval the drive manufacturer recommends, or sooner in harsh service. In high-heat environments such as bakery ovens, inspect chain and sprockets more often than the general schedule.
Can I replace just the chain if the sprockets look okay?
We don't advise replacing only the chain. New chains on worn sprockets wear out much faster than matched sets. Worn teeth act like saws on new metal links. Replacing both components at the same time saves on long-term maintenance.
What is the maximum allowable chain stretch before replacement?
Most industrial drives fail once elongation reaches 3%. Precision drives may need replacement sooner; follow the equipment manufacturer's limit. This equals 0.18 inches (4.57 mm) over a 12 inch (304.8 mm) span. Use our chain and sprocket wear inspection checklist to track these measurements monthly.
Why is my chain making a "popping" sound as it leaves the sprocket?
That "popping" sound usually means your sprocket teeth have a "hook" shape. This happens when rollers don't release cleanly from the teeth. This often happens when chain tension drifts from the factory specification.
Does lubrication type matter for different industrial environments?
Lubrication choice is critical for your machinery's lifespan. We use H1 food-grade oils for high-heat zones reaching 482°F (250°C). In dusty flour mills, a dry lubricant attracts less grit than standard heavy oils. Our technical service team can help you choose.
How do I measure sprocket wear without a professional gauge?
You can check wear by pulling the chain away from the large sprocket. If you can lift the chain well away from the teeth, the set is spent. This "lift test" is a quick check that needs no special tools.
What are the signs that my conveyor belt is causing drive wear?
Look for "surging" or a pulsing motion in your conveyor belt. If the belt tracks to one side by more than 0.5 inches (12.7 mm), it indicates uneven drive wear. Improper tensioning and alignment cause many drive failures.
Do you need a professional evaluation of your drive systems? Contact our technical service team today to schedule a comprehensive site visit. We'll help you get the most service life from your equipment.
Need parts or a quote?
Jealco has supplied industrial equipment and parts since 1950, in the U.S. and for export worldwide. Send us your part number, size or application and we'll quote it.
Prefer to talk? Call +1 770-998-2124. Hablamos español.
Recent Posts